The Form Builder is where you create, edit, and design your forms.
This guide explains every section of the interface so you know exactly where to go when building your form.
Overview of the Builder Layout
The Form Builder is divided into two main areas:
- Left Panel – Build and configure your form
- Right Panel – Live preview of your form
Everything updates in real time as you make changes.
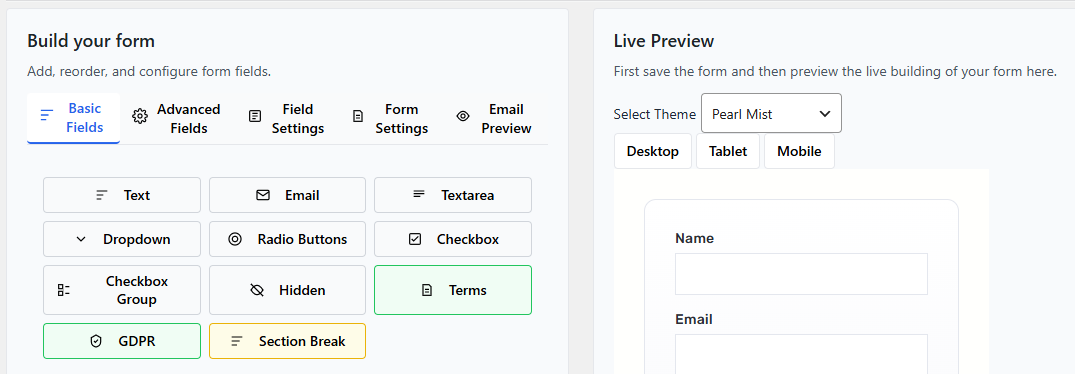
The Left Panel
The left side of the builder is where you control your form’s structure and settings.
It contains several tabs:
- Basic Fields
- Advanced Fields
- Field Settings
- Form Settings
- Email Preview
Let’s look at each one.
Basic Fields Tab
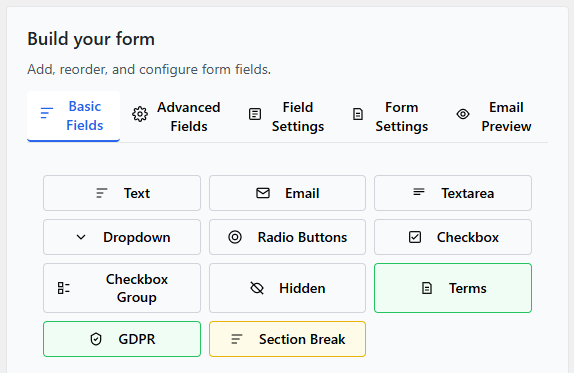
The Basic Fields tab contains commonly used fields such as:
- Text
- Textarea
- Dropdown
- Checkbox
- Radio Buttons
To add a field:
- Click the field type.
- It will appear in the Structure tab.
- Click it to configure its settings.
These fields are perfect for most standard contact forms.
Advanced Fields Tab
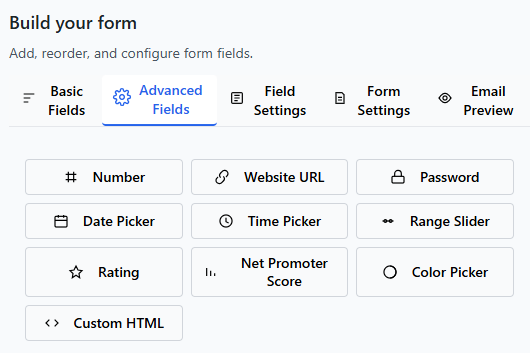
The Advanced Fields tab includes more specialized fields.
Examples may include:
- File Upload
- Date Picker
- Phone
- Hidden Field
- HTML Block
Advanced fields are useful when your form needs more functionality beyond basic contact information.
Field Settings Tab

The Field Settings tab opens when you select a field from the Structure tab.
Here you can customize:
- Label
- Placeholder text
- Required option
- Default values
- Column layout
- Conditional Logic
Every field has its own settings.
To edit a field:
- Click the field in Structure.
- Switch to Field Settings.
- Adjust the options.
- Save your changes.
Form Settings Tab
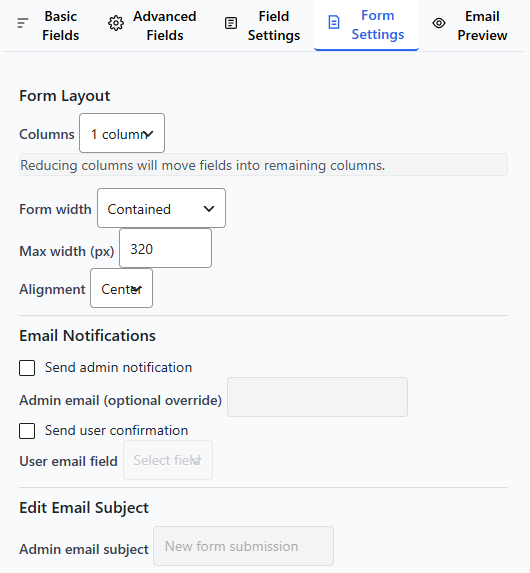
The Form Settings tab controls settings that apply to the entire form.
Here you can configure:
- Form title and description
- Form width
- Submit button text
- Success message
- Email notifications
- Spam protection
If you want to change how the form behaves globally, use this tab.
Email Preview Tab
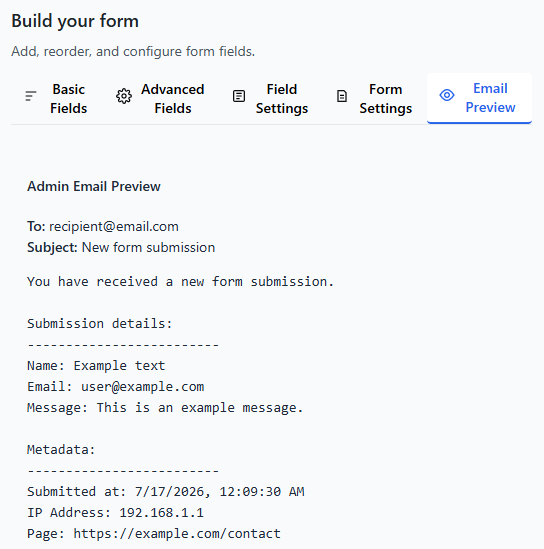
The Email Preview tab allows you to see how your notification emails will look.
You can:
- Review subject line
- Preview email body
- Confirm formatting
This helps ensure your notifications look professional before going live.
The Right Panel – Live Preview
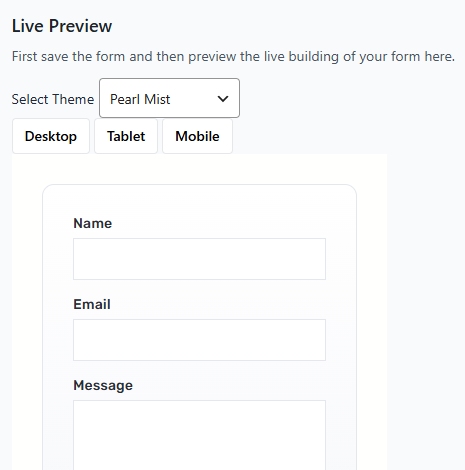
One of the most powerful features of the builder is live preview.
When you:
- Add a field
- Change a label
- Modify column width
- Switch themes
The preview updates immediately.
You can see changes before publishing.
Saving Your Form
Always click Save Form after making changes.
If you leave the page without saving, your latest edits may not be stored.
Quick Workflow Example
A typical workflow looks like this:
- Add fields from Basic Fields.
- Arrange them in Structure.
- Customize each field in Field Settings.
- Adjust form-wide options in Form Settings.
- Choose a theme in the Preview panel.
- Save.
Once saved, your form is ready to be added to a page.
What to Learn Next
Now that you understand the interface, you may want to explore: