Welcome to Ray’s Contact Form! In this guide, you’ll create a simple contact form and publish it on your website in just a few minutes.
By the end of this tutorial, you will:
- Create a new form
- Add basic fields
- Configure email notifications
- Insert the form into a page
- Test your form
Let’s get started.
Step 1: Create a New Form
- Go to your WordPress dashboard.
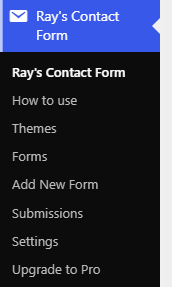
- Click Ray’s Contact Form in the left admin menu.
- Click Add New Form
- Give your form a name (for example: Contact Us).
- Click Save.
You are now inside the Form Builder.
Step 2: Add Basic Fields
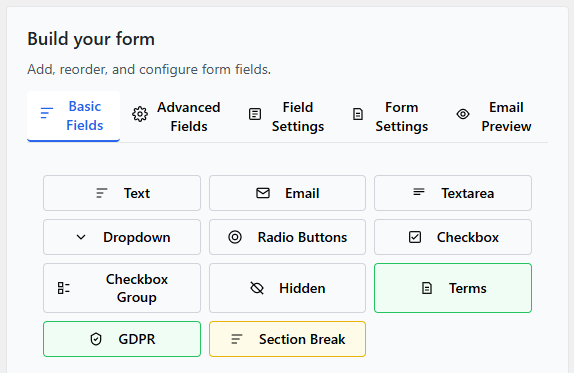
In the Structure tab, you will see Basic Fields such as:
- Text
- Textarea
Let’s add the three essential fields for a simple contact form.
Add a Name Field
- Click Text.
- A new field will appear in the form.
- Click the field to open Field Settings.
- Change the Label to: Full Name.
- Enable Required.
Add an Email Field
- Click Email.
- Click the field to open Field Settings.
- Change the Label to: Email Address.
- Enable Required.
Add a Message Field
- Click Textarea.
- Click the field to edit it.
- Change the Label to: Message.
- Enable Required.
Your form now has three essential fields.
Click Save.
Step 3: Configure Email Notifications
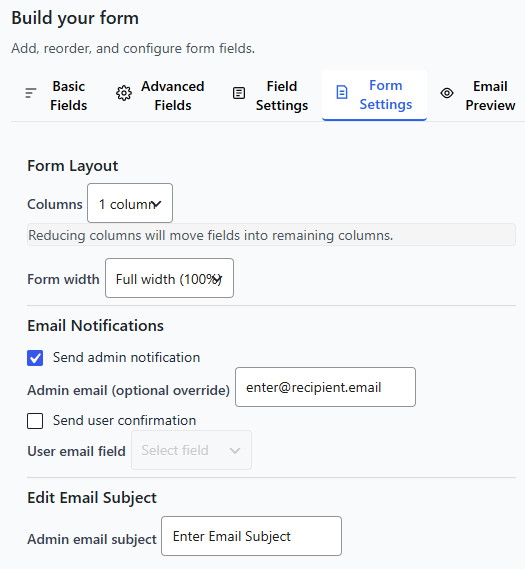
By default, form submissions are sent to your WordPress admin email.
To customize:
- Go to the Form Settings tab.
- Locate the Email Settings section.
- Set the Recipient Email (if needed).
- Edit the Email Subject (example: New Contact Form Submission).
- Customize the email message body if desired.
Click Save.
Step 4: Select a Theme
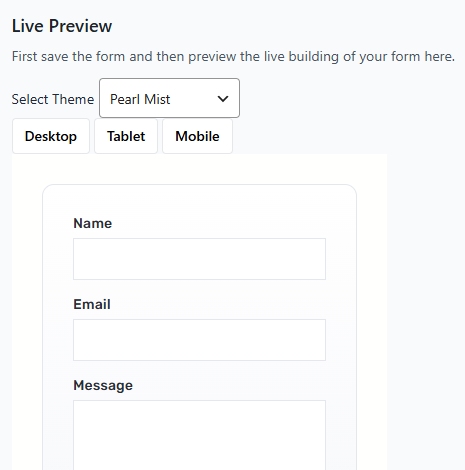
On the right-hand side, you’ll see the Theme Preview panel.
- Use the Theme dropdown.
- Select a theme.
- Watch the live preview update instantly.
Choose the design that matches your website.
Step 5: Save Your Form
Always click Save Form after making changes.
This ensures your latest edits are stored.
Step 6: Add the Form to a Page
To display your form on your website:
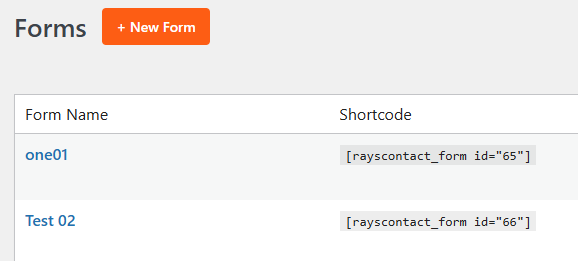
- Go to Forms.
- Copy the shortcode shown next to your form.
Example:
[rayscontact id=”123″]
- Go to Pages → Add New.
- Paste the shortcode into the page content.
- Click Publish.
Your form is now live!
Step 7: Test Your Form
- Visit the page where you added the form.
- Fill in the fields.
- Submit the form.
- Check your email inbox.
If you receive the email, everything is working correctly.
You Did It!
You have successfully created and published your first form.
Next Steps:
- Add more fields
- Create multi-column layouts
- Use Conditional Logic
- Email Notification Setup
- Explore advanced fields
Quick Tips
- Keep forms short for better conversions.
- Only make fields required when necessary.
- Use clear labels.
Always test after publishing.